Easily Import pst to Office 365 Archive Mailbox- Complete Guide

Office 365 has become the first choice of many organisations for its numerous features. Since it offers an In-place archive(additional mailbox), businesses are switching to this user-friendly interface. And, according to recent tech research, many users are looking for solutions to import pst to Office 365 archive mailbox.
And, if you too are searching for a convenient solution then you have reached out to the right page. Cause here, we are going to discuss four distinct methods & help you choose the best solution.
Let’s get into the topic.
How Can You Upload pst files to Exchange Online Archive?
Basically, there are manual as well as automated ways to import pst files. If you compare these two, then manual ways are supported by Microsoft and the automated way is recommended by many IT admins.
Now, you must be wondering, why admins are opting for the automated method instead of the manual ways to import pst to Office 365 archive mailbox?
Well, we’ll certainly discuss the same in detail in the coming sections.
But, first, let’s know both the methods.
#Manual Ways:
- Using the Import/Export wizard
- Drive Shipping Method
- Network Upload Method
#Automated Way:
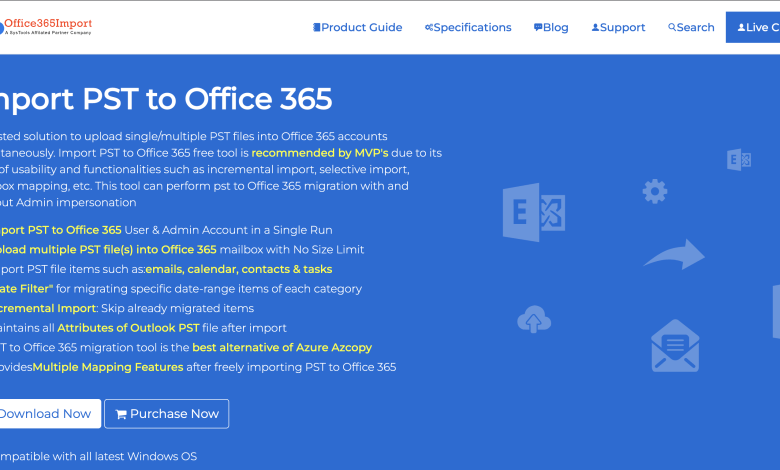
Through the Most Trusted Import PST to Office 365 Tool
So, now let’s proceed and discuss the reasons for choosing the automated way. Then, we’ll cover the manual ways.
Why Experts Pick The Software to Import pst to Office 365 Archive Mailbox?
Below are some solid reasons for putting the tool ahead;
- You can easily import multiple accounts in one go. There is no limitation on the number of pst files you want to import.
- Along with emails, you can also upload contacts, events, and tasks without any data loss.
- More importantly, you don’t need to master any technical programming language. The steps to upload pst files to Exchange Online archive using the tool are really easy to conduct. Even a non-tech person can carry out the process effortlessly.
- The geographical boundary is not going to be the problem. Cause you can use the tool from any part of the globe.
- No lengthy or hidden configuration is involved
- Interestingly, you can exclude migration of unnecessary deleted and sent items with a single click. That is by clicking on the ‘Exclude Deleted Items’ and ‘Exclude Sent Items’ checkboxes.
- If you have previously used this tool, then in the next attempts, you can prevent the migration of already uploaded items.
This is how the tried and tested tool is winning over the manual ways.
Also Read: Office 365 Tenant to Tenant Migration for a seamless transfer of sensitive data.
Anyways, let’s discuss the native methods one by one.
#1 Use Import/Export Wizard to Upload pst files to Exchange Online Archive
If you have fewer numbers of files that you want to import then this is the method for you. However, first, you need to configure the Outlook account. Follow the below steps and set up the same.
- Open MS Outlook on your computer. Then click on File and Add Account.
- Next, provide your Office 365 email address, and click on Continue.
- Then, give a password, click on the OK button, and at last, hit the finish button.
Now, let’s move to the actual steps to import pst to Office 365 archive mailbox.
- Go to the File tab, and press the Open & Export & then Import/Export
- After that, choose the file type i.e Outlook Data File(.pst) in the Import Export Wizard window, and tap on ‘Next’
- After that, select the PST file path by clicking on the ‘Browse’ button. Then, select ‘Replace duplicates with items imported’ and click Next to upload pst files to Exchange Online archive.
- Now, in order to import the complete file, choose the root file, and tick the Include subfolders checkbox. Then, press the ‘Import items into the same folder’ and enter your office 365 id.
- Lastly, click on the Finish button.
The above process seems convenient but when you have pst files in TBs to import, it will surely test your patience. So, you can say that it is not at all suitable for bulk import.
#2 Import pst to Office 365 Archive Mailbox Using Drive Shipping Method
This is a paid solution offered by Microsoft to bulk import pst files.
Just copy the files to a hard disc manually, then ship it to Microsoft. After that, a Microsoft representative will verify your data, and then it will upload pst files to desired Office 365 archive location. However, you can’t say how much time is it gonna take.
As you can see, the procedure is simple. But, it’s not cost-effective. How so? Well, as per Microsoft, it charges $2 to upload per GB of data. So, if you have files in terms of TB then rest you can do the math.
Besides, one of the biggest limitations is that not all the countries around the world can use this method.
#3 Utilise Network Upload Method to Upload pst files to Exchange Online Archive
It’s a free built-in native solution you can use to import a large number of pst files. However, it’s quite a difficult approach since it uses the technical PowerShell scripting language.
So, if you are confident enough and have a strong command of the language then refer to the link & carry out the process. Otherwise, there is a chance of permanent data loss.
Conclusion
Due to the increase in the demand for Office 365, users are switching to this cloud platform to get extra storage space for their emails. And, consequently, search for ways to import pst Office 365 archive mailbox. So, we’ve come up with this article and discussed 4 different methods. Now, the choice is yours!
Also Check: The news updates on the latest Technology by clicking here.


